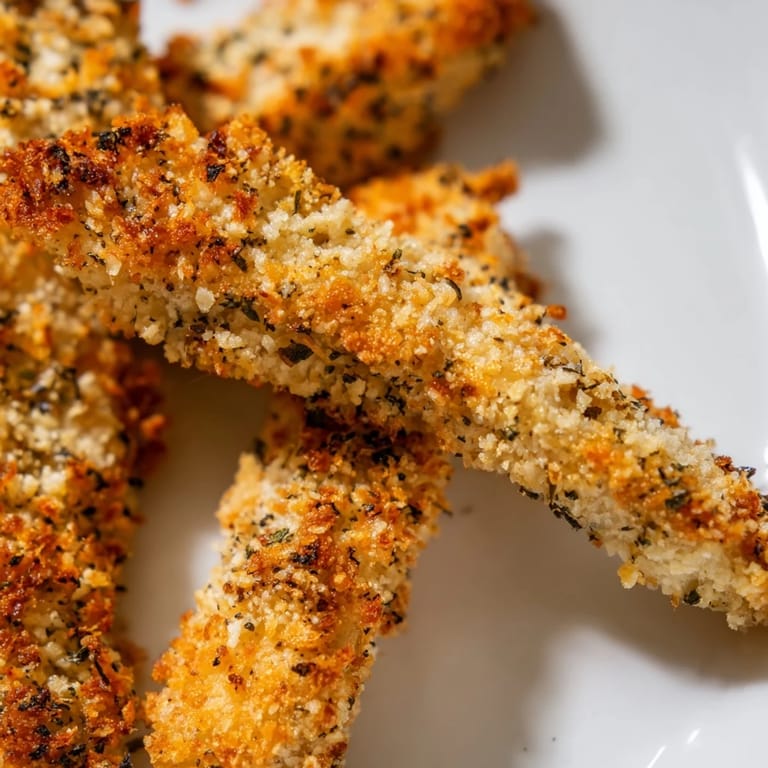
 Pin It
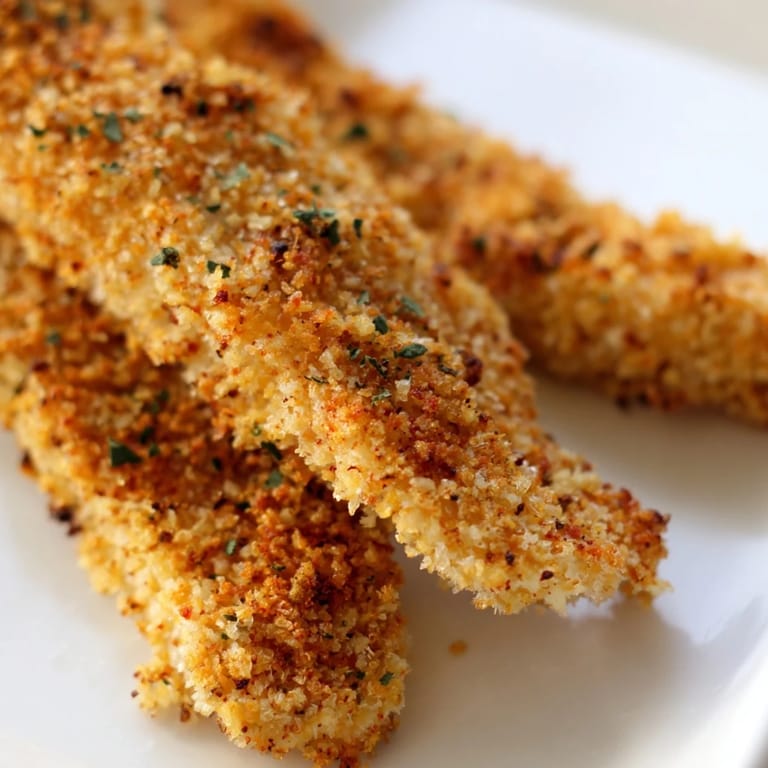
 My daughter pushed her chair back from the table one Wednesday night and said she wanted chicken strips, but not the freezer kind. I had thirty minutes before soccer practice and a package of chicken breasts thawing on the counter. What came out of that oven twenty minutes later turned into our most requested weeknight dinner, and I haven't bought a frozen bag since.
The first time I made these for a group of friends, I set out three different dipping sauces just to see what would happen. The honey mustard disappeared first, but everyone kept coming back for seconds no matter which sauce they started with. One friend asked if I'd fried them in secret, and I just pointed at the oven still ticking as it cooled.
Ingredients
- Boneless, skinless chicken breasts or tenders: I cut mine into strips about the width of two fingers so they cook evenly and stay juicy inside, and tenders work beautifully if you want to skip the knife work altogether.
- Salt and black pepper: Season the chicken before breading so the flavor goes all the way through, not just on the surface.
- All-purpose flour: This first layer dries out any moisture so the egg mixture actually sticks instead of sliding off in patches.
- Eggs: Whisking them with mayonnaise makes the coating creamier and helps the panko grab on like glue.
- Mayonnaise or Greek yogurt: I use mayo for richness, but yogurt works if you want tang and a bit less fat.
- Panko breadcrumbs: The secret to that crackling crust is panko's bigger flakes, they crisp up in the oven better than regular breadcrumbs ever could.
- Dried Italian herbs: A mix of oregano, thyme, and basil gives the coating a warm, familiar flavor without overpowering the chicken.
- Garlic powder and smoked paprika: These two add depth and a hint of smokiness that makes people think you did something fancy.
- Cayenne pepper: I skip it for my kids but add a pinch to my own batch when I want a little heat that sneaks up on you.
- Olive oil: A light drizzle before baking is what turns the panko golden and crispy instead of pale and dry.
Tired of Takeout? 🥡
Get 10 meals you can make faster than delivery arrives. Seriously.
One email. No spam. Unsubscribe anytime.
Instructions
- Preheat and Prep:
- Set your oven to 220 degrees Celsius and line a baking sheet with parchment paper, or use a wire rack if you want every side to crisp up. The high heat is what makes the coating crunch instead of steam.
- Prep the Chicken:
- Pat the chicken completely dry with paper towels, then slice it into strips about two centimeters wide so they all finish cooking at the same time. Season both sides with salt and pepper right on the cutting board.
- Set Up Your Breading Station:
- Arrange three shallow bowls in a row: flour in the first, beaten eggs mixed with mayonnaise in the second, and panko tossed with herbs and spices in the third. This assembly line makes coating quick and keeps your hands from turning into dough.
- Coat the Chicken:
- Drag each strip through the flour and shake off the extra, dip it fully into the egg mixture, then press it into the panko so every side is covered. I use one hand for wet ingredients and one for dry to avoid clumping.
- Arrange and Oil:
- Lay the coated strips on your prepared baking sheet with a little space between each one so air can circulate. Drizzle or spray them lightly with olive oil, which is the key to getting that deep golden color.
- Bake:
- Slide the sheet into the oven and bake for 18 to 22 minutes, flipping halfway through so both sides get evenly crispy. They're done when the internal temperature hits 74 degrees Celsius and the coating looks like toasted breadcrumbs.
- Rest:
- Let the strips sit on the pan for two or three minutes before serving. This lets the crust set so it stays crunchy instead of softening from trapped steam.
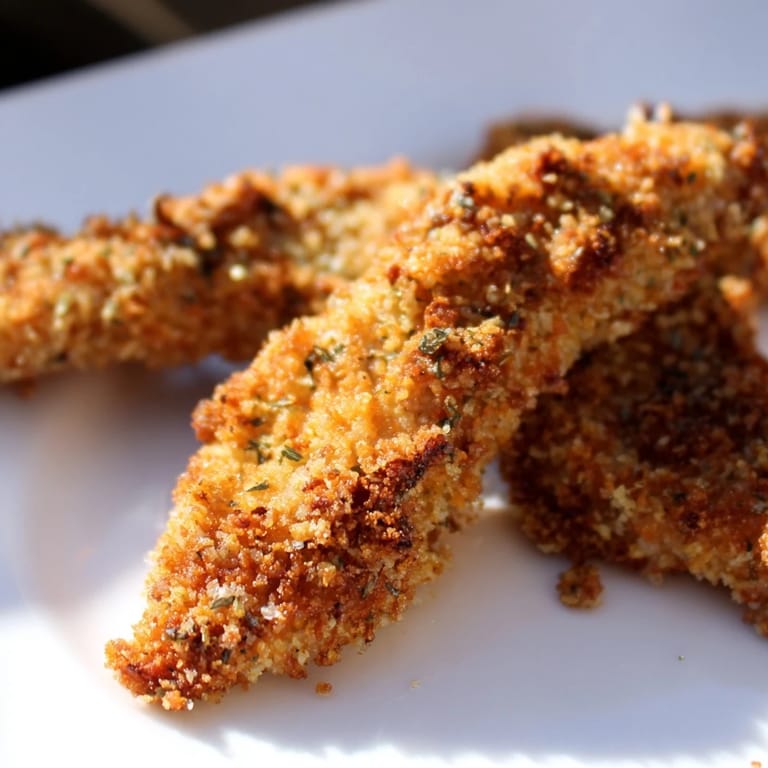
 Pin It
 My son started asking for these on his birthday instead of the usual takeout, and now they show up at every family gathering. Last Thanksgiving, I made a double batch as an appetizer, and they were gone before the turkey even came out. It's become the dish that makes everyone lean back in their chairs and sigh, which is exactly what comfort food should do.
Dipping Sauces That Work
I always put out at least two sauces because everyone has a strong opinion about what belongs next to chicken. Honey mustard is the crowd favorite, sweet with just enough tang to cut through the richness. Ranch is the safe choice that makes kids happy, and spicy sriracha mayo is for the adults who want a little kick. I've even served them with plain ketchup when I'm out of everything else, and no one complained.
How to Store and Reheat
Leftovers keep in the fridge for up to three days in an airtight container, and I reheat them in a hot oven or toaster oven to bring back the crunch. The microwave will make them soggy, so skip it unless you're in a real hurry and don't care about texture. I've never had enough left over to freeze, but I imagine they'd hold up fine if you let them cool completely before wrapping them tight.
Ways to Make It Your Own
You can swap the Italian herbs for almost anything you have in the spice drawer. I've used Cajun seasoning, lemon pepper, and even a little curry powder when I wanted something different. Grated Parmesan mixed into the panko adds a salty, nutty flavor that makes the coating even better, and a squeeze of lemon juice over the finished strips brightens everything up.
- For gluten-free, just swap in gluten-free panko and flour, the texture stays almost identical.
- If someone can't eat eggs, try using buttermilk or even just extra mayo thinned with a splash of water for the dip.
- A light Sauvignon Blanc or a crisp lager pairs beautifully if you're serving these for company.
 Pin It
 These strips have saved more weeknight dinners than I can count, and they've made me look like a much better cook than I actually am. Make them once, and I promise they'll end up in your regular rotation too.
Recipe FAQs
- → Can I prepare these strips ahead of time?
Yes, you can bread the chicken strips up to 4 hours in advance. Keep them on a parchment-lined tray in the refrigerator, then bake directly from cold—you may need to add 2–3 minutes to the cooking time. For longer storage, freeze breaded strips on a tray for 2 hours, then transfer to a freezer bag for up to 3 months.
- → How do I ensure maximum crispiness?
Pat the chicken completely dry before breading—moisture is the enemy of crispiness. Use a wire rack instead of a solid baking sheet to allow air circulation underneath. Drizzle or spray with olive oil rather than brushing, which helps achieve even browning. Let strips cool for 2–3 minutes after baking before serving.
- → What's the best way to check if chicken is fully cooked?
Use an instant-read thermometer inserted into the thickest part of the strip—it should reach 165°F (74°C) for food safety. Alternatively, cut the largest strip open; the meat should be white throughout with no pink. Baking time is typically 18–22 minutes depending on strip thickness and oven accuracy.
- → Can I make this dairy-free?
Absolutely. Replace the mayonnaise with dairy-free mayonnaise or unsweetened almond milk mixed with a tablespoon of cornstarch to create a binding egg wash substitute. Ensure your breadcrumbs and all seasonings are certified dairy-free. The strips will be equally crispy and delicious.
- → What dipping sauces pair well with these strips?
Honey mustard, ranch dressing, and sriracha mayo are classic choices. Try barbecue sauce, buffalo sauce mixed with Greek yogurt, garlic aioli, or a simple lemon-herb dipping oil. Sweet and savory combinations like honey-sriracha or maple-Dijon work wonderfully too.
- → How should I store leftover strips?
Refrigerate cooled strips in an airtight container for up to 3 days. Reheat in a 350°F (175°C) oven for 5–8 minutes to restore crispiness, or briefly in an air fryer. Avoid microwaving, which softens the coating. Frozen cooked strips keep for up to 2 months and can be reheated directly from frozen, adding a few extra minutes.