 Pin It
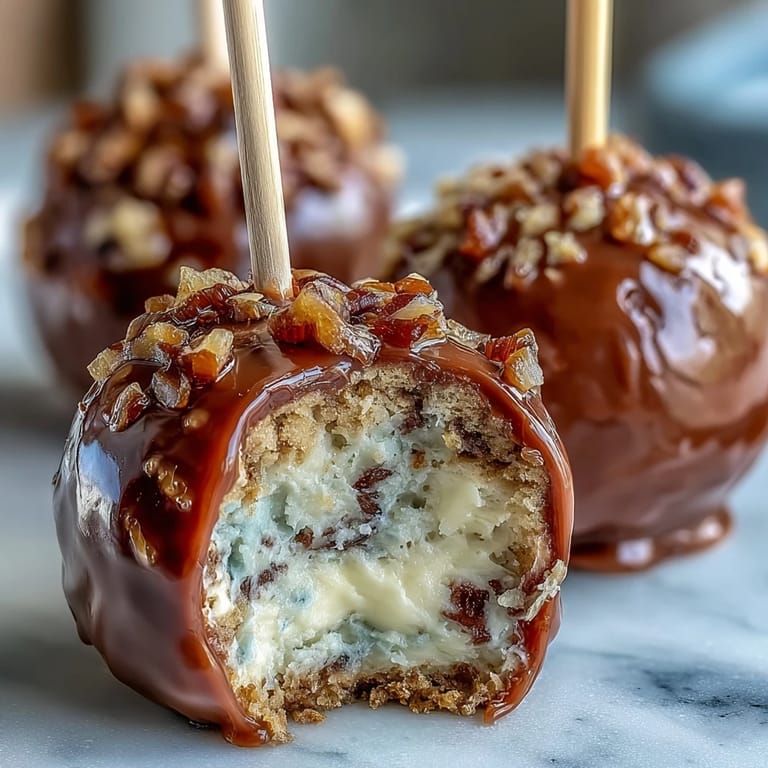
 Graduation is a milestone worth celebrating in style, and what better way to honor the graduate than with festive cake pops decorated in their school colors and finished with sparkling gold sprinkles? These delightful bite-sized treats combine the nostalgic joy of homemade cake with the elegance of candy-coated confections, creating a dessert that's as beautiful as it is delicious. Perfect for graduation parties, senior celebrations, or end-of-year gatherings, these cake pops bring a touch of personalized charm to any dessert table. Each pop is a celebration on a stick—sweet, colorful, and ready to make your special day shine.
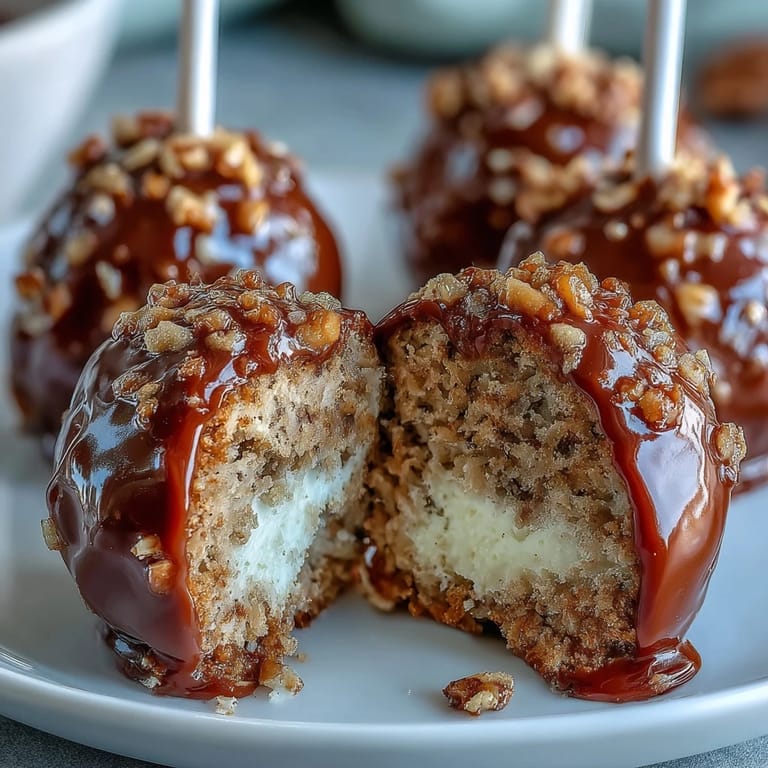
Pin It The beauty of these graduation cake pops lies in their versatility. Whether your graduate's school colors are bold and vibrant or classic and elegant, the candy melts allow you to create a perfectly coordinated dessert. The golden sprinkles add a celebratory sparkle that catches the light and makes each pop feel extra special. While they require a bit of patience—especially during the chilling and dipping stages—the process is straightforward and the results are truly impressive. Your graduates will feel honored, and your guests will be asking for the recipe.
Ingredients
Tired of Takeout? 🥡
Get 10 meals you can make faster than delivery arrives. Seriously.
One email. No spam. Unsubscribe anytime.
- For the Cake: 1 box (about 400 g) vanilla or chocolate cake mix (plus ingredients listed on the box: usually eggs, oil, water)
- For the Frosting: 1/2 cup (115 g) unsalted butter, softened
- 1 1/2 cups (190 g) powdered sugar
- 1 tablespoon milk
- 1 teaspoon vanilla extract
- Pinch of salt
- For the Coating & Decoration: 450 g (16 oz) candy melts in two school colors
- 2 tablespoons vegetable shortening or coconut oil (optional, for smoother dipping)
- Gold sprinkles or edible gold glitter
- 24 lollipop sticks
- Styrofoam block (for drying pops)
Instructions
- Bake the Cake
- Prepare the cake mix according to package instructions. Let it cool completely.
- Make the Frosting
- Beat butter until creamy. Gradually add powdered sugar, then milk, vanilla, and salt. Beat until smooth and fluffy.
- Form the Cake Balls
- Crumble the cooled cake into a large bowl. Mix in 1/2 to 3/4 cup of frosting a little at a time until the mixture holds together but isn't too wet.
- Shape
- Roll the mixture into 24 evenly sized balls (about 1 tablespoon each). Place on a baking sheet lined with parchment paper. Chill in the refrigerator for at least 1 hour or freeze for 30 minutes.
- Insert Sticks
- Melt a small amount of candy melts. Dip the end of each lollipop stick into the melted candy, then insert halfway into each cake ball. This helps secure the sticks.
- Coat with Candy Melts
- Melt candy melts in separate bowls according to package instructions, stirring in shortening for a smoother finish if desired. Dip each cake pop into your chosen school color, gently tapping off excess.
- Decorate
- While the coating is still wet, sprinkle with gold sprinkles or edible gold glitter. Place upright in the Styrofoam block to set.
- Serve
- Allow coating to harden completely before serving or packaging.
Zusatztipps für die Zubereitung
The key to perfect cake pops is achieving the right cake-to-frosting ratio. Start with less frosting and add more as needed—the mixture should hold together when squeezed but not feel sticky or overly moist. Chilling the cake balls thoroughly before dipping is essential; this prevents them from falling off the sticks or cracking during coating. When melting candy melts, use short bursts in the microwave and stir frequently to avoid overheating. If the coating seems too thick, add vegetable shortening or coconut oil one teaspoon at a time until you reach a smooth, dippable consistency. Work quickly when adding sprinkles so they adhere before the coating sets.
Varianten und Anpassungen
Feel free to customize these cake pops to suit your preferences or dietary needs. Use any cake flavor you love—red velvet, funfetti, or lemon all work beautifully. For a richer frosting, try cream cheese frosting instead of buttercream. You can also create ombré effects by dipping half the pops in one school color and half in another, or even marbling two colors together. Add themed decorations like tiny edible graduation caps, diploma scrolls, or the graduation year written with edible markers. For a gluten-free version, use a gluten-free cake mix and ensure all other ingredients are certified gluten-free.
Serviervorschläge
Display your graduation cake pops upright in a Styrofoam block covered with decorative paper or fabric in school colors for a stunning presentation. Arrange them in height-graduated tiers or in the shape of the graduation year. Package individual pops in clear cellophane bags tied with ribbon as party favors for guests to take home. Serve alongside other graduation-themed treats like decorated cookies, cupcakes with cap toppers, or a diploma cake. For an elegant dessert table, pair the cake pops with gold-rimmed plates, confetti in school colors, and small signs congratulating the graduate. These pops are best enjoyed at room temperature and can be made up to three days ahead for stress-free party planning.
 Pin It
 These graduation cake pops are more than just a dessert—they're edible memories of a momentous occasion. Each golden-sprinkled pop represents the hard work, dedication, and achievements of your graduate, making them a meaningful addition to any celebration. Whether you're hosting a large graduation party or an intimate family gathering, these personalized treats will bring smiles and sweet satisfaction to everyone who enjoys them. So gather your ingredients, choose your school colors, and create a batch of these festive cake pops to honor your graduate in the most delicious way possible. Congratulations to all the graduates—here's to your bright future!
Recipe FAQs
- → How do I ensure the cake pops hold together well?
Mix the crumbled cake with frosting gradually until the mixture is firm but not too wet, which helps the pops maintain their shape.
- → Can I use different cake flavors for these pops?
Yes, you can vary the cake flavor to your liking, such as vanilla or chocolate, to customize the taste.
- → What is the best way to achieve a smooth coating with candy melts?
Adding vegetable shortening or coconut oil to melted candy melts improves smoothness and makes dipping easier.
- → How long should the cake pops chill before dipping?
Chill the shaped cake balls in the fridge for at least one hour to help them firm up before dipping in the coating.
- → How can I store the finished cake pops?
Store cake pops in an airtight container at room temperature for up to three days, or refrigerate for up to one week.