 Pin It
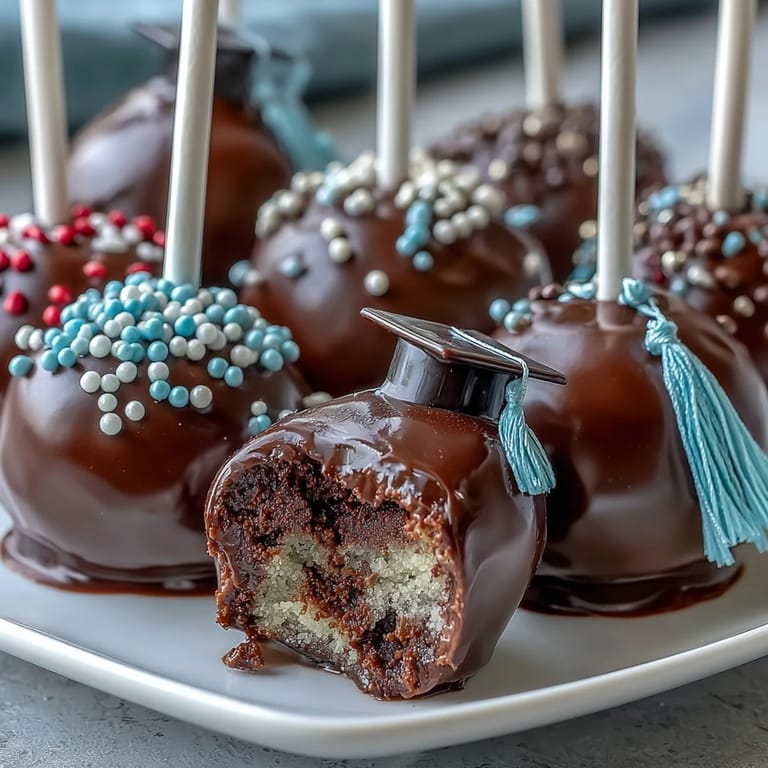
 The first time I made graduation cake pops wasn't even for my own school, but for my cousin's big day. I still remember the kitchen blooming with sweet vanilla and the table scattered with vibrant sprinkles. There was a playful energy — my niece laughing as she dropped mini chocolate chips everywhere and the lollipop sticks rolling off the counter. Decorating each pop in school colors felt more like a craft session than serious baking, and by the end our fingers were dyed blue and gold. It was messy, colorful, and way more fun than I expected.
I once brought these cake pops to a class graduation lunch, and every single pop disappeared faster than the pizza. Peeking around the room, I caught so many smiles as graduates admired their school colors and joked about who had the messiest hands. There's something about these pops that breaks the ice — people gather around to guess the flavors and pick out their favorite designs. It's always a shared moment, and I learned that sweets can make even the shyest grad beam with pride.
Ingredients
- Cake: You can use a boxed mix for ease, but baking it a day ahead makes crumbling simpler and improves texture.
- Cream cheese or buttercream frosting: Add just enough to bind the crumbs—too much and the pops get heavy, too little and they won't hold together.
- Candy melts in school colors: Choose the brightest, boldest hues and melt slowly to avoid seizing; vegetable shortening helps if it gets too thick.
- Sprinkles, edible glitter or colored sugar: Don't skimp—these turn each pop into a celebration, and uneven sprinkling is part of the charm.
- Lollipop sticks: Inserting them with a dab of melted chocolate helps keep the pops secure (learned after a few toppled over).
- Mini chocolate chips & fondant: Perfect for details like tassels or cap decorations; press them gently or they might roll right off.
Tired of Takeout? 🥡
Get 10 meals you can make faster than delivery arrives. Seriously.
One email. No spam. Unsubscribe anytime.
Instructions
- Bake and cool the cake:
- The cake should be completely cool before you start — rushing this step makes a sticky mess of crumbs.
- Crumble and mix:
- Use your hands to crumble the cake into fine bits, enjoying how the texture transforms as you work; then slowly blend in frosting until it feels like dough.
- Shape the pops:
- Roll into even balls as best you can, but don't worry about perfection—quirky shapes are endearing.
- Chill:
- Let your pops spend some time in the fridge or freezer — this makes coating far easier and keeps them from falling apart.
- Melt and prep the coating:
- Microwave the candy melts in short bursts, stirring gently; a smooth, liquid texture means they're ready for dipping.
- Stick and dip:
- Dip each stick in chocolate before inserting, then submerge the pop fully and gently tap to remove excess coating.
- Decorate:
- Quickly add sprinkles or sugar while the coating is wet. If making graduation caps, press on fondant squares and mini chips as soon as possible.
- Set and serve:
- Stand finished pops upright in a styrofoam block and let the coating harden completely before you pass them around.
 Pin It
 There's a photo on my fridge of my best friend and me, trying to balance a dozen cake pops onto a tiny plate after her graduation. That day, we laughed so hard about our crooked caps and accidentally swapped colors, but those pops turned into little trophies everyone wanted to grab. Sometimes, food is just food — but these pops made the celebration feel personal and unforgettable.
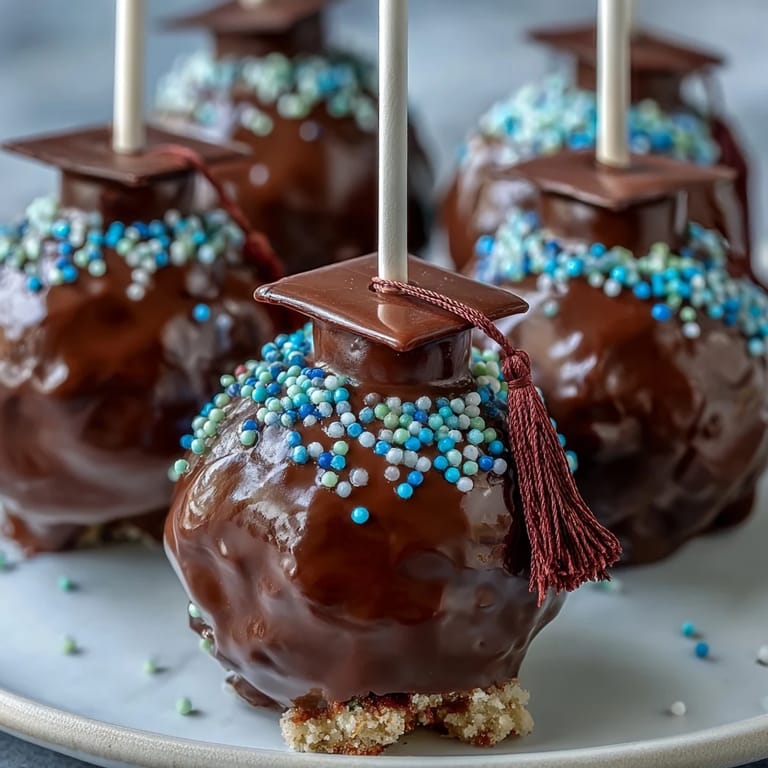
Make Your Own Graduation Cap Look
Getting the fondant caps just right was a true test of patience—they're tiny and tend to slide around if the coating isn't tacky enough. I found that rolling the fondant thinner and waiting 30 seconds after dipping for the coating to get a bit sticky helps the caps stay in place. Adding a mini chocolate chip tassel with a dab of chocolate makes each pop look more authentic and playful.
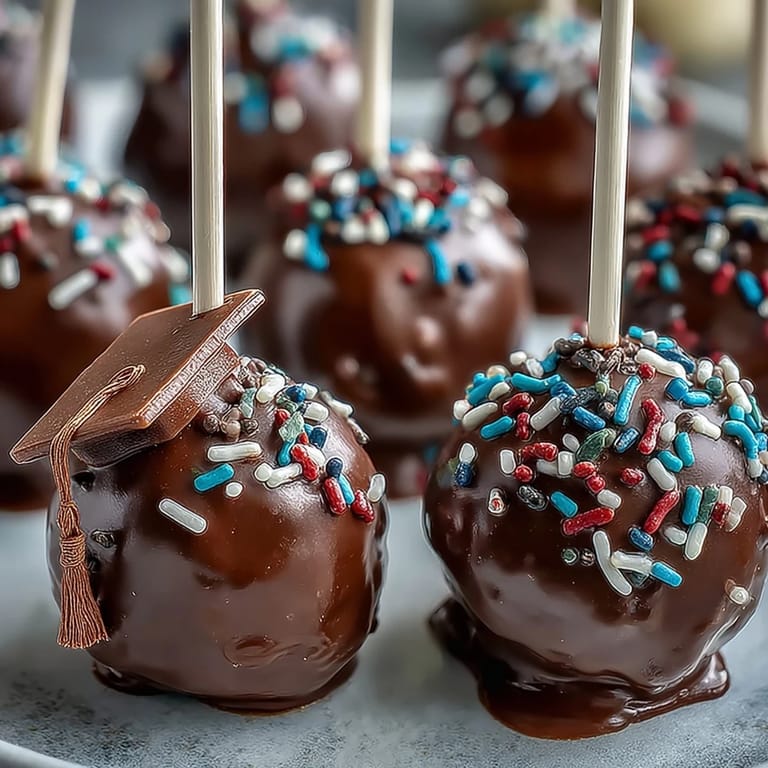
Color Coordination Tips That Work
Choosing your school colors takes some detective work, especially with candy melts—not every shade exists! Mixing two melt colors can get you closer to the real thing, and white chocolate with food coloring makes a great backup. If you’re feeling bold, edible glitter or colored sugar adds shine and depth with just a sprinkle.
What to Do If Your Cake Pops Crack
Occasionally, cake pops will crack as the coating sets—this usually happens if the pops are too cold or the coating too hot. Let the pops warm up a minute before dipping, and go slow with your melting. Any cracks can be disguised with extra sprinkles or decorations, which honestly just adds character.
- Keep pops chilled but not frozen for best results.
- If you run out of school colors, improvise with what you have—no one minds.
- Decorate over cracks and call them custom creations.
 Pin It
 These graduation cake pops never fail to spark joy at any celebration. Even if your pops aren't picture-perfect, their color and flavor make every bite feel festive.
Recipe FAQs
- → Can I use homemade cake instead of a boxed mix?
Yes, a fully cooled homemade cake works well; just crumble and mix with frosting as directed.
- → How do I match cake pop colors to my school?
Use candy melts, food coloring, and decorative sprinkles in your school’s colors for personalized touches.
- → What’s the best way to decorate cake pops for graduation?
Fondant caps, colored sprinkles, edible glitter, and chocolate chips make great decorative elements for graduation festivities.
- → Can I make cake pops ahead of time?
Yes, store finished cake pops in an airtight container for up to 3 days at room temperature or up to a week refrigerated.
- → Are there gluten-free options?
Use gluten-free cake mix and check ingredient labels for gluten-free alternatives.
- → How do I keep the coating smooth and shiny?
Add vegetable shortening to melted candy melts or chocolate if it's too thick; tap off excess for a smooth finish.